Posts

Showing posts from 2012

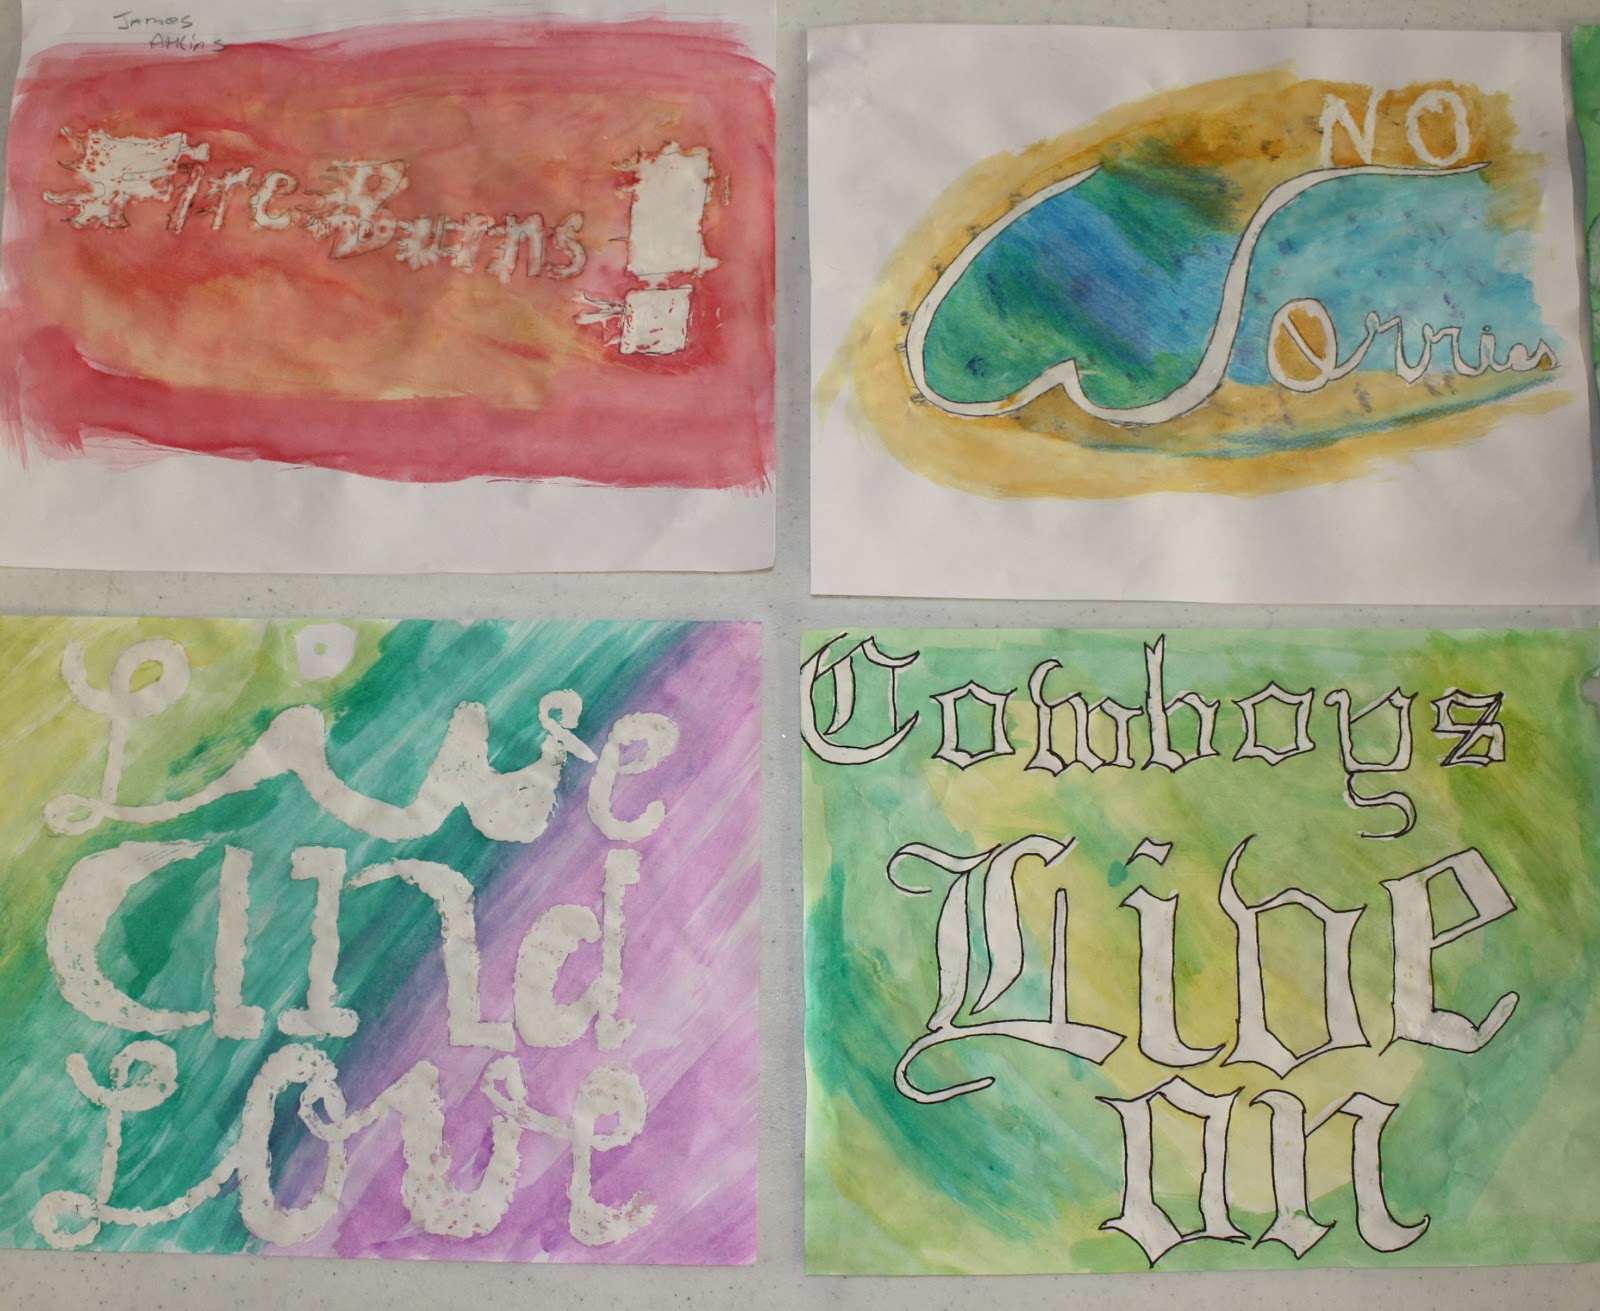
our watercolor font combos

Image
We attempted to use old masking fluid and the wrong type of paper...so these didn't turn out exactly as planned... but the designs were good! :)

Design within the Box

Image
First they had to create 48 squares designed using only triangles and circles in each one. This forces them to really get creative...Oh the complaining you will hear! But after the first 10, they really start getting into it. Then, they had to choose one to recreate one design in no more than 2 colors of construction paper using the 'plan' in one of their squares. 

ART: Our Sugar Skulls

Image
DIA de los MUERTOS Student artwork.  Sugar skulls designed for themselves or in honor of a loved one.

ART: Our Bones

Image
High School Skeleton Studies

ART: Texture

Image
texture link texture in nature Grant Wood pattern samples for landscape project

oUR TYPoGRAPHY oBJECTS

Image
more to come! Lesson choose an object with a clear silhouette USING PENCIL outline each distinctive area  and fill using different types of lettering, arrangement of words, opened and filled letters for contrast, and changing directions words must be written up against the edge as close as possible to maintain the shape of the object when your design is the way you like it on to the final version! using cardstock for the final version, use a lightbox (or window) to trace only the words- not the outlines- in fine point Sharpie fill with color if desired

Type Combinations

Image
combining type font combinations using watercolor (images found using pinterest..these are not my designs)

Categories of Type

Image
link for type categories

Our Illuminated Manuscript

Image
Crayon Resist

ART: value

Image
How to Draw Ribbons from tanglepatterns.com Drawing a Ribbon – Technique 1 Drawing a ribbon is a bit of a parlor trick, actually. You squiggle a few lines and, like magic, you have this elegant swirling thing on your paper.  Like most magic, it isn’t difficult once you discover the trick. Step 1 While drawing your ribbons be sure to think ‘S’, not ‘Z’ or ‘O’.  You want nice rounded curves, not corners or circles. Step 2 Draw a second ‘S’ line, following the original curves as closely as possible. You’ll determine the thickness of your ribbon by the distance between the two lines.  Try to keep the distance even for the entire length of the ribbon, but you don’t have to be exact. You can skip this step if you use two pens or pencils together (see Margaret Bremner’s  write-up ) to draw your ribbon outline. If you did use two pens or pencils to draw your outline, use only one for the rest of this how-to. Step 3 Connect your ends. ...